Aufkleber für dein Fahrrad, Laptop oder Helm – ganz nach Wunsch.
Anleitung zum Anbringen des Aufklebers:
Du kannst das Aufkleberblatt mit einer normalen Schere zuschneiden.
Die Oberfläche muss staub- und fettfrei sein. Spülmittelwasser und Papiertücher eignen sich dafür gut.
Der Aufkleber befindet sich auf einem Trägerpapier (weißes Papier), das du zuerst entfernst. Der Aufkleber bleibt an der Transferfolie haften.
Platziere den Aufkleber an der gewünschten Stelle und drücke ihn mit einem Tuch fest an.
Ziehe nun vorsichtig die transparente Folie ab.
Und voilà – fertig!
Maße des Aufkleberbogens: 15 cm x 11,5 cm
Jeder Aufkleber wird von mir persönlich hergestellt und zugeschnitten. Kleine Unregelmäßigkeiten sind daher möglich – bitte beachten!
English Version —-
Decal Sticker for your Bike or Laptop or Helmet, whatever you wish.
Instructions for applying the sticker:
You can cut the sticker sheet with a regular scissor.
To begin with, the surface must be free of dust and grease. Dishwashing water and paper towels do the job.
The sticker is on a backing paper, which you remove first (white paper). The sticker is held by the transfer film.
Now place the sticker where you want it. Use a cloth to press the sticker.
Then carefully peel off the transparent film. And voila. Complete!
The sticker sheet measures 14 cm x 10,5 cm.
Every sticker is made and cut by myself. There are irregularities within. Please note.
Color:
Aufkleber für dein Fahrrad, Laptop oder Helm – ganz nach Wunsch.
Anleitung zum Anbringen des Aufklebers:
Du kannst das Aufkleberblatt mit einer normalen Schere zuschneiden.
Die Oberfläche muss staub- und fettfrei sein. Spülmittelwasser und Papiertücher eignen sich dafür gut.
Der Aufkleber befindet sich auf einem Trägerpapier (weißes Papier), das du zuerst entfernst. Der Aufkleber bleibt an der Transferfolie haften.
Platziere den Aufkleber an der gewünschten Stelle und drücke ihn mit einem Tuch fest an.
Ziehe nun vorsichtig die transparente Folie ab.
Und voilà – fertig!
Maße des Aufkleberbogens: 15 cm x 11,5 cm
Jeder Aufkleber wird von mir persönlich hergestellt und zugeschnitten. Kleine Unregelmäßigkeiten sind daher möglich – bitte beachten!
English Version —-
Decal Sticker for your Bike or Laptop or Helmet, whatever you wish.
Instructions for applying the sticker:
You can cut the sticker sheet with a regular scissor.
To begin with, the surface must be free of dust and grease. Dishwashing water and paper towels do the job.
The sticker is on a backing paper, which you remove first (white paper). The sticker is held by the transfer film.
Now place the sticker where you want it. Use a cloth to press the sticker.
Then carefully peel off the transparent film. And voila. Complete!
The sticker sheet measures 14 cm x 10,5 cm.
Every sticker is made and cut by myself. There are irregularities within. Please note.
 Bild 1 von 9
 Bild 2 von 9
 Bild 3 von 9
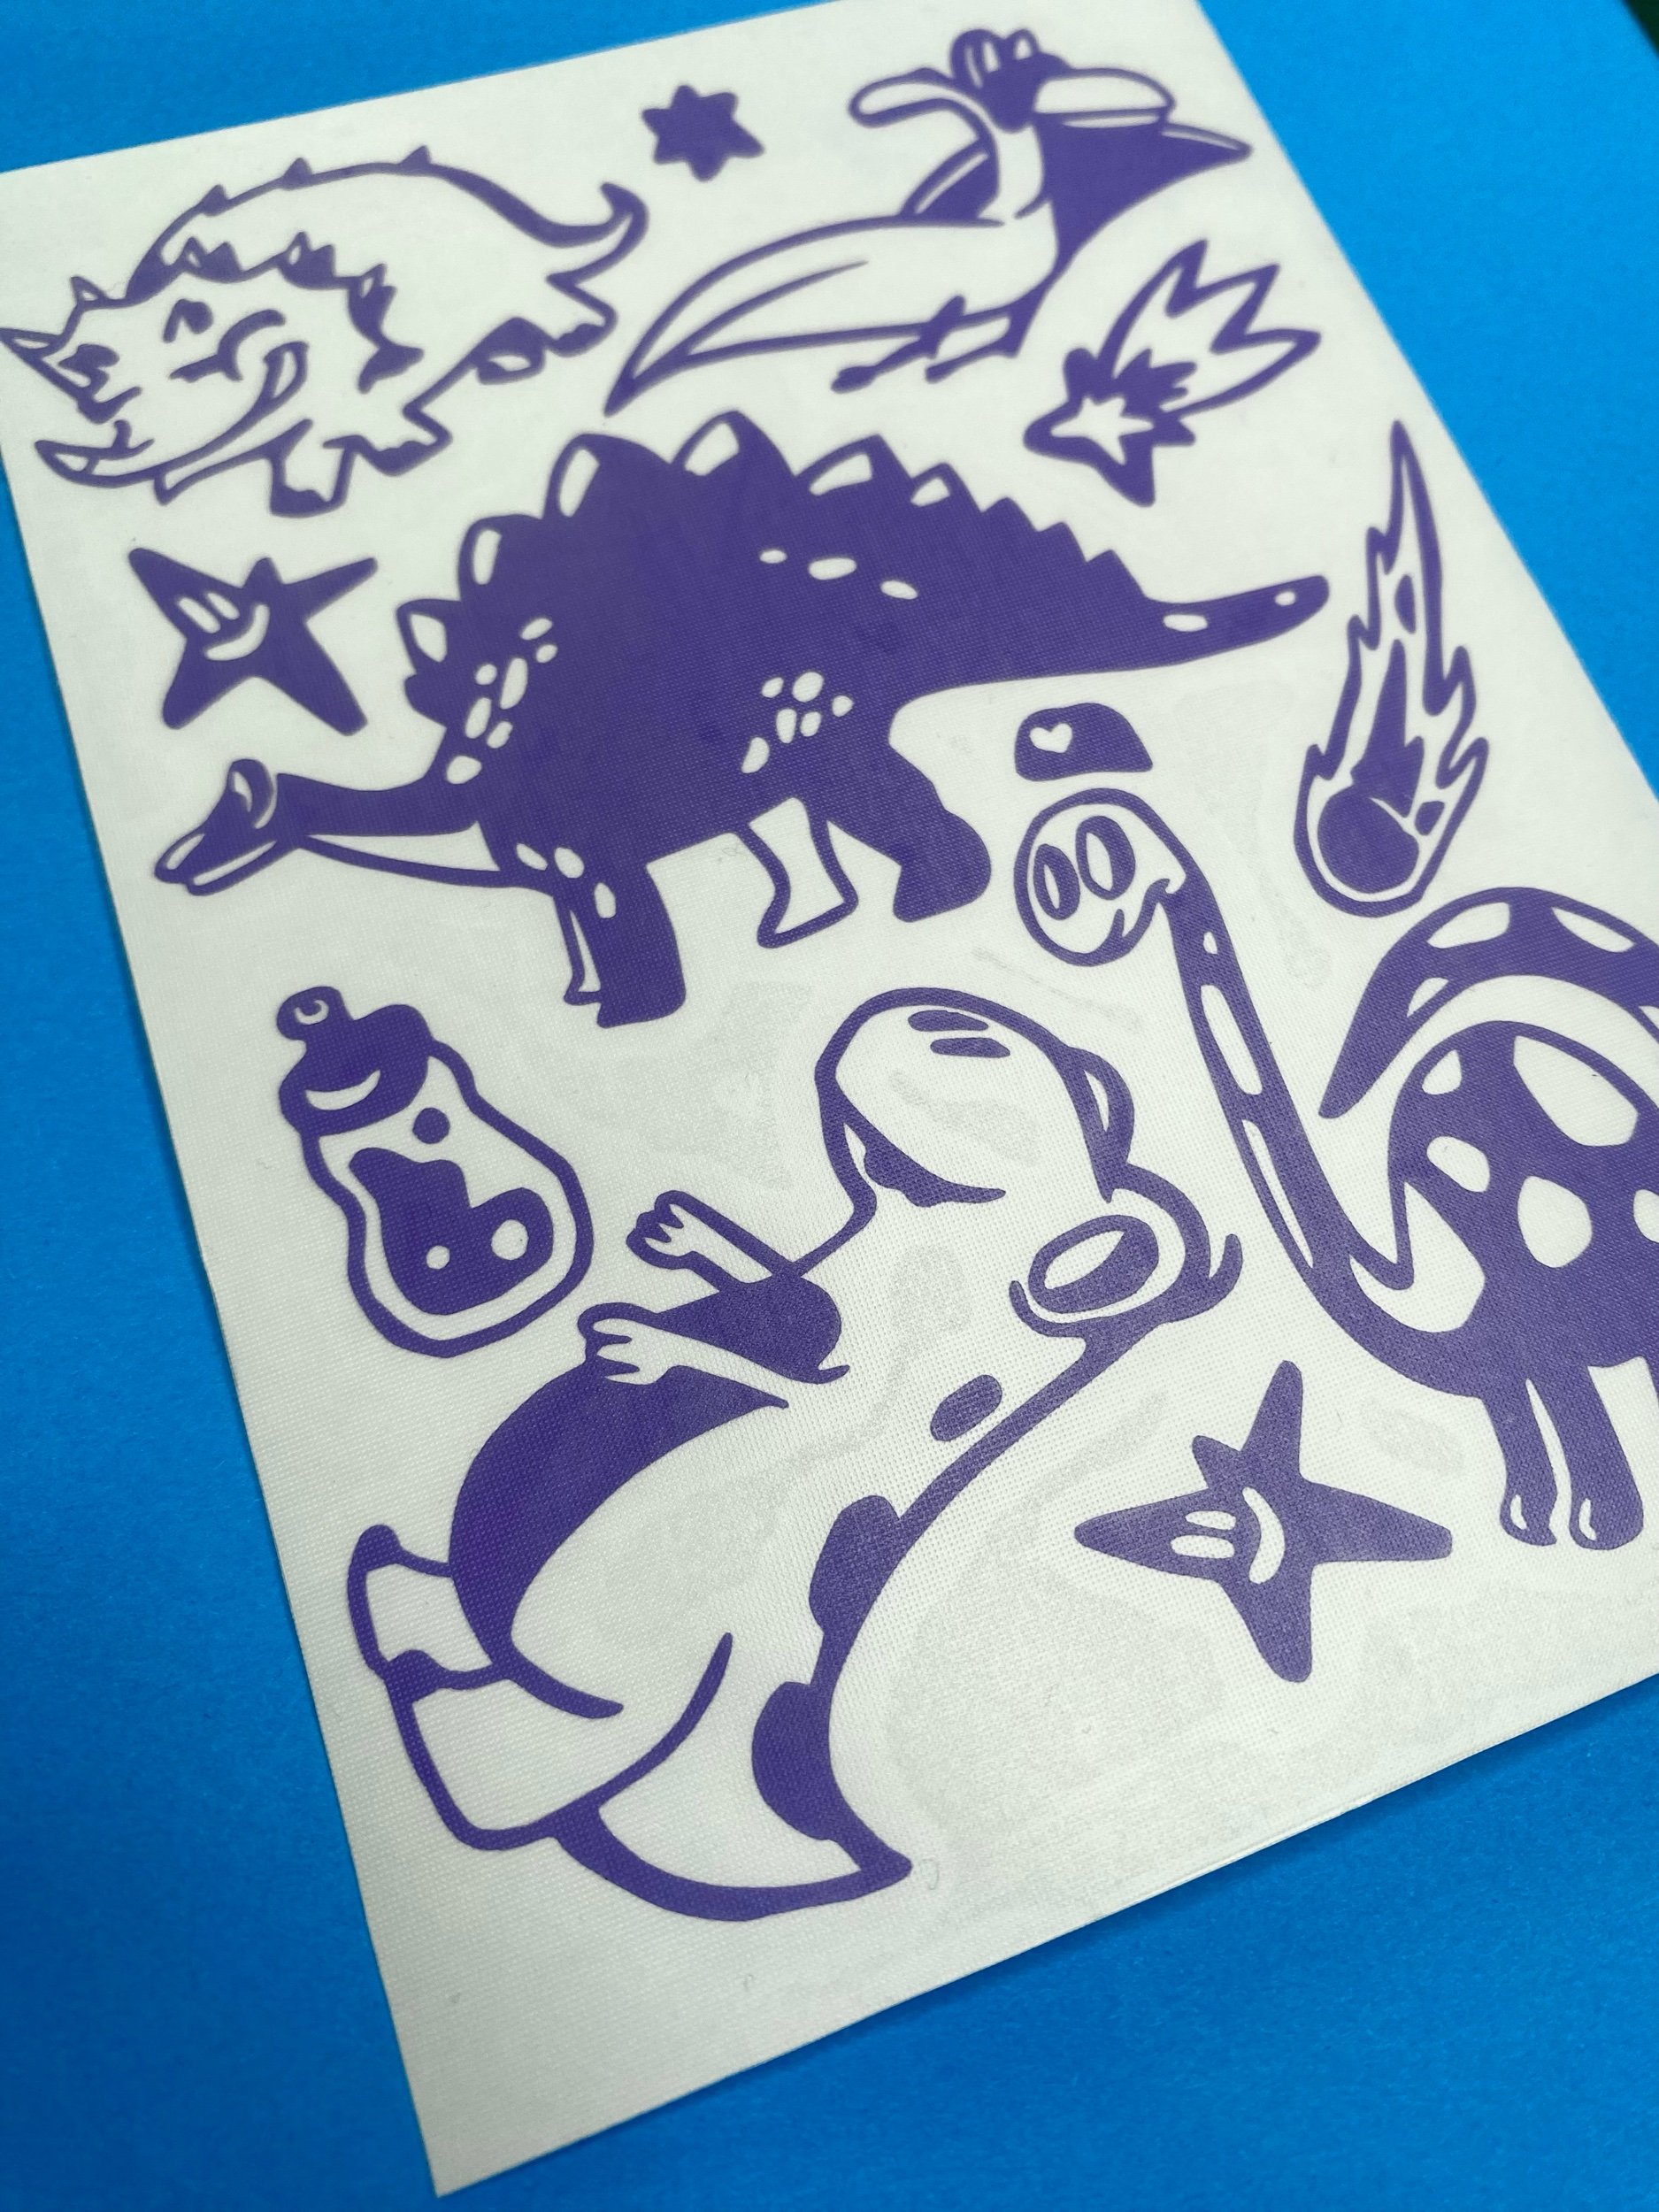 Bild 4 von 9
 Bild 5 von 9
 Bild 6 von 9
 Bild 7 von 9
 Bild 8 von 9
 Bild 9 von 9